It’s preserving season with all those bountiful fruits and veggies bursting from the garden and not only does it make sense to use them when they are plentiful (and cheap), but nothing makes you feel as proud as a row of jam jars with handwritten labels sitting on your kitchen bench top.
Jam making requires a little patience and care, and if you follow these tips, you will be jamming it with the best of them:
- Choose fruit that is plump and ripe but not completely soft, as it needs to be high in pectin to set.
- Sterilise your jars in advance by baking well washed jars in the oven at 100°C for 30 minutes. The jar lids can be immersed in boiling water for a few minutes.
- Caster sugar will dissolve quicker than regular sugar.
- Lemon juice is an important addition as it helps the jam to set.
- Use a large preserving pan when cooking the jam as it is prone to bubbling up and possibly boiling over…and that’s NO fun to clean up.
- To test if the jam is set, place a few saucers in the freezer to chill. As the jam simmers, periodically test it, from the 15 minute mark, every 5 or 10 minutes, by spooning a small amount of jam onto the cold saucer and returning to the freezer to chill for a minute. Then use your finger to push the jam to test for a set. It should wrinkle and be slightly thick, rather than syrupy.
- Let the cooked jam sit and settle for 15 minutes before bottling.
- Take care to tighten lids as much as possible.
- If you plan to store the jam for extended periods, jam covers can be used or alternatively, keep it in the fridge.
Enjoy!

[ux_image_box img=”3973″]
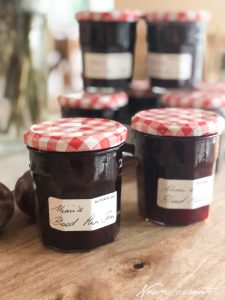
Home Made Blood Plum Jam
[/ux_image_box]